I've just about finished painting the interior surfaces of the fuselage.
First of all, I did a coat of Vallejo white primer for the canvas areas.
Then I had to decide what colour to use. On the original, the canvas covering was apparently treated with a red oxide primer, and this would have soaked through, to be visible on the inside. The instructions for the Airfix 1:48 scale model say to use Humbrol 100 to represent this effect, and I happened to have a tin of it, which I've had for years and which was still usable! But it looked too orangey to me. Instead, I followed the lead of this feature, by Chris Jones, who suggests that it should be more of a brick red. I tried Vallejo Fire Red alone, but this was too red, so I mixed in a drop of black and did another coat.
Then some masking was called for. I have never tried masking over water-based acrylics before, and was slightly worried that the tape might pull away the paint on removal, so to be safe I left it overnight to cure thoroughly. After this, there was nothing for it but to grasp the nettle and to apply the tape. As usual, this turned out to be more fiddly and time-consuming than I expected, so it was just as well that I was starting out fresh from my morning coffee.
I applied a coat of SMS black to the aluminium areas and then more masking was needed, for the black-painted area around the cockpit opening. I didn't want to leave all the tape on too long, but I wanted the black undercoat to dry properly. I left it two hours, then did the little bit of extra masking, followed by a coat of SMS aluminium:
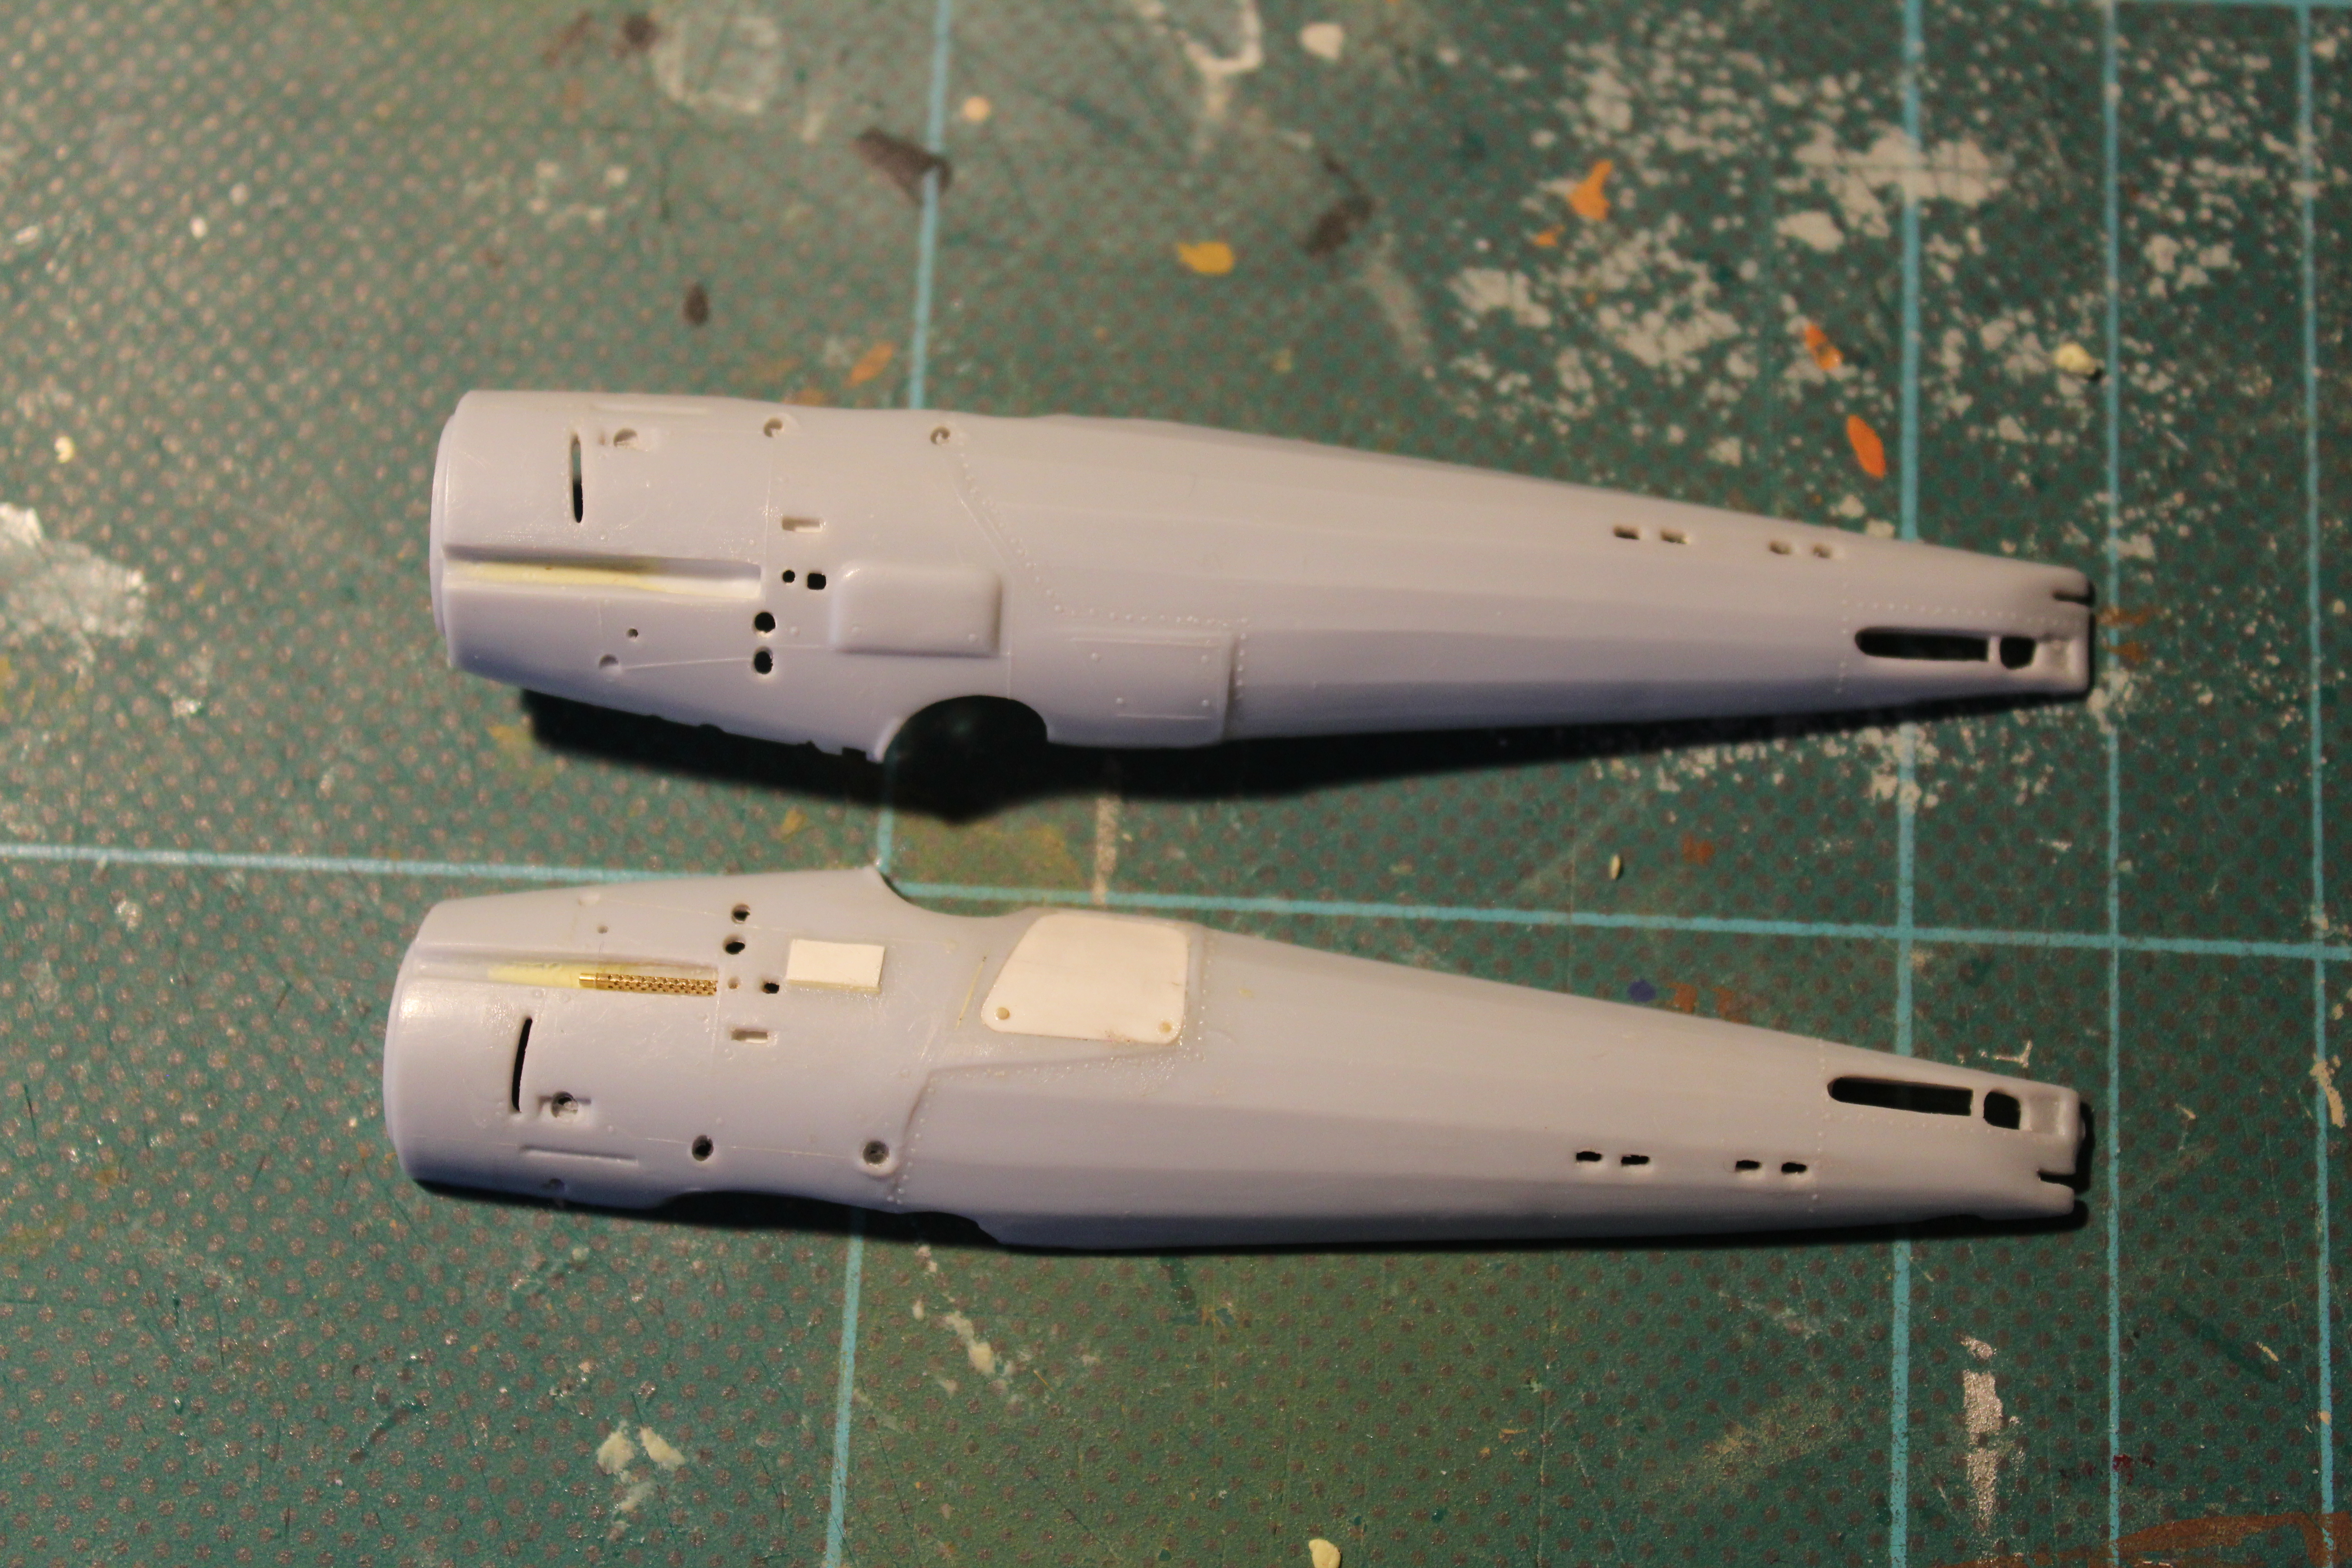
I left it to dry for the time it took to clean the airbrush, and then very carefully peeled off all the tape, and the results were not too bad:
I was slightly concerned at first because somehow a few flecks of aluminium lacquer had got onto the canvas areas; but luckily most of these brushed off. Also, I had been a bit careless about keeping it all dust-free, so there were a few little specks of dust on the aluminium surfaces. I might try removing these with some very fine wet and dry. Then, again following the example of the Chris Jones feature, I will do a coat of SMS flat clear lacquer.
Finally for today, a test fit of the interior framework:
More soon.